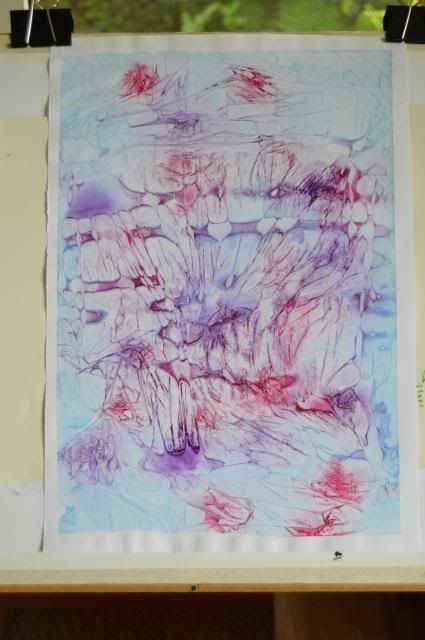
Eesy-peesy folks! Not proper marbelled papers, no need for alum or carageen, just water and acrylic, I used acrylic inks.
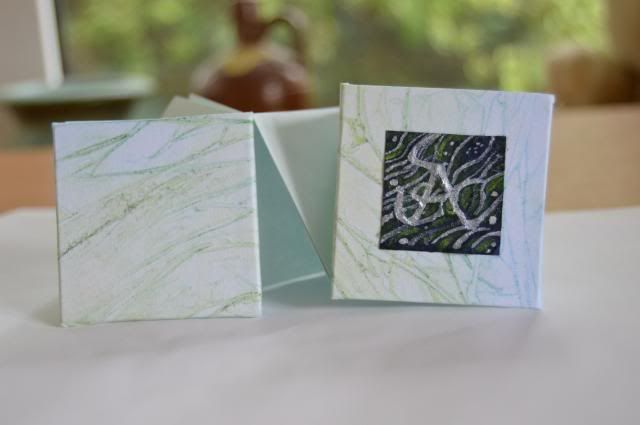
This was demonstrated at my calligraphy class, so I don't take any credit for the process but each piece is individual and probably non-repeatable so unique. Some work, some don't ........ but even with sheets that don't work, there may be an area you like and could cut out and use. Loads of uses, cards in particular or collage or covering little books or boxes, or nice gift cards perhaps.
This was my first attempt on my own and I did not stretch the paper properly which you really need to do. I was using an ordinary weight cartridge paper and now that my gummed paper has arrived (next day delivery!) I will certainly try again.
Steps:
1. Wet chosen paper - if you are using a heavyweight watercolour paper, you could soak it but for ordinary paper, I just used a big brush and mopped up excess water with a sponge. [I read somewhere that it helps with the spreading of the colour if you put a very few drops of washing up liquid in the water - does something with the surface tension.]
2. While the paper is still wet, brush on a dilute colour. As I said, I was using Acrylic ink (Rowney FW Ink) but there are other sorts and you could use watercolour. One benefit of using acrylic is that the dried paper is then waterproof.
3. While everything is still soaking wet, slop on another colour, and a third if you wish.
4. Flick or drop in another colour and let it spread - put something under the top of the board to allow the paint to travel on its own!
5. Put a piece of clingfilm over the paper and gently rub it around in the colours.
6. Let the whole thing dry before removing the clingfilm.
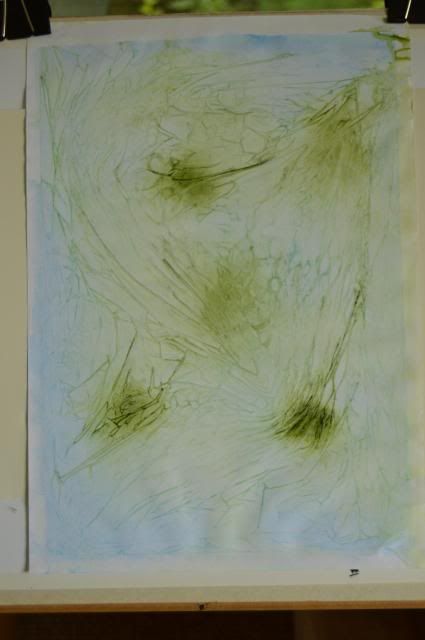
First paper:
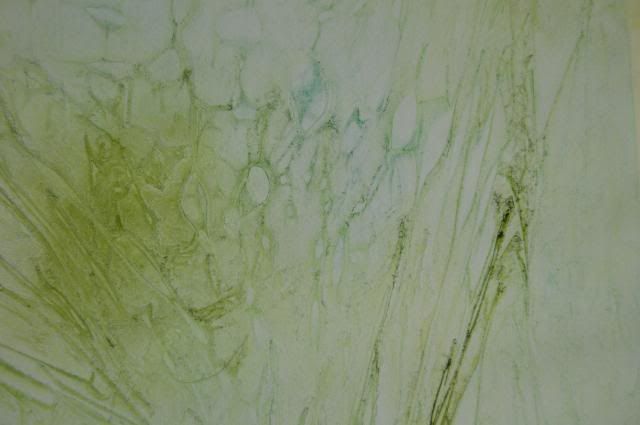
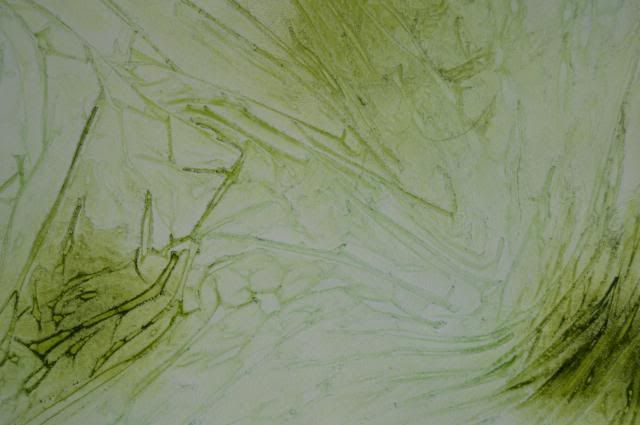
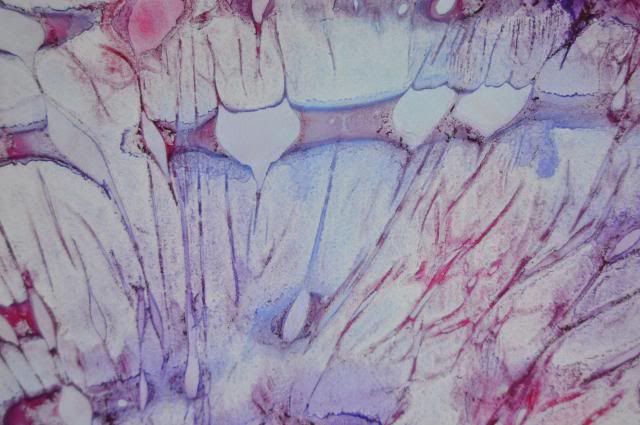
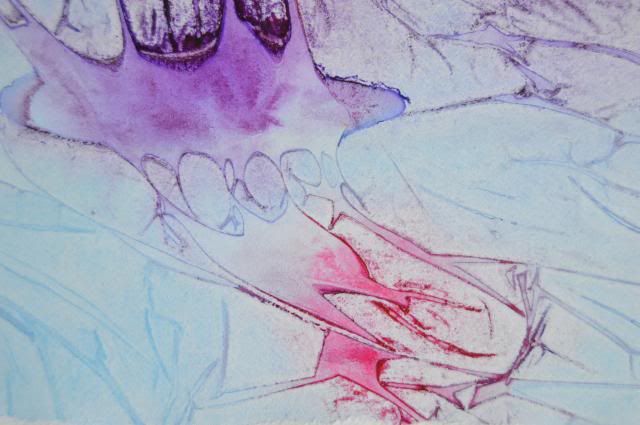
Detail:

